#################################################################################
#
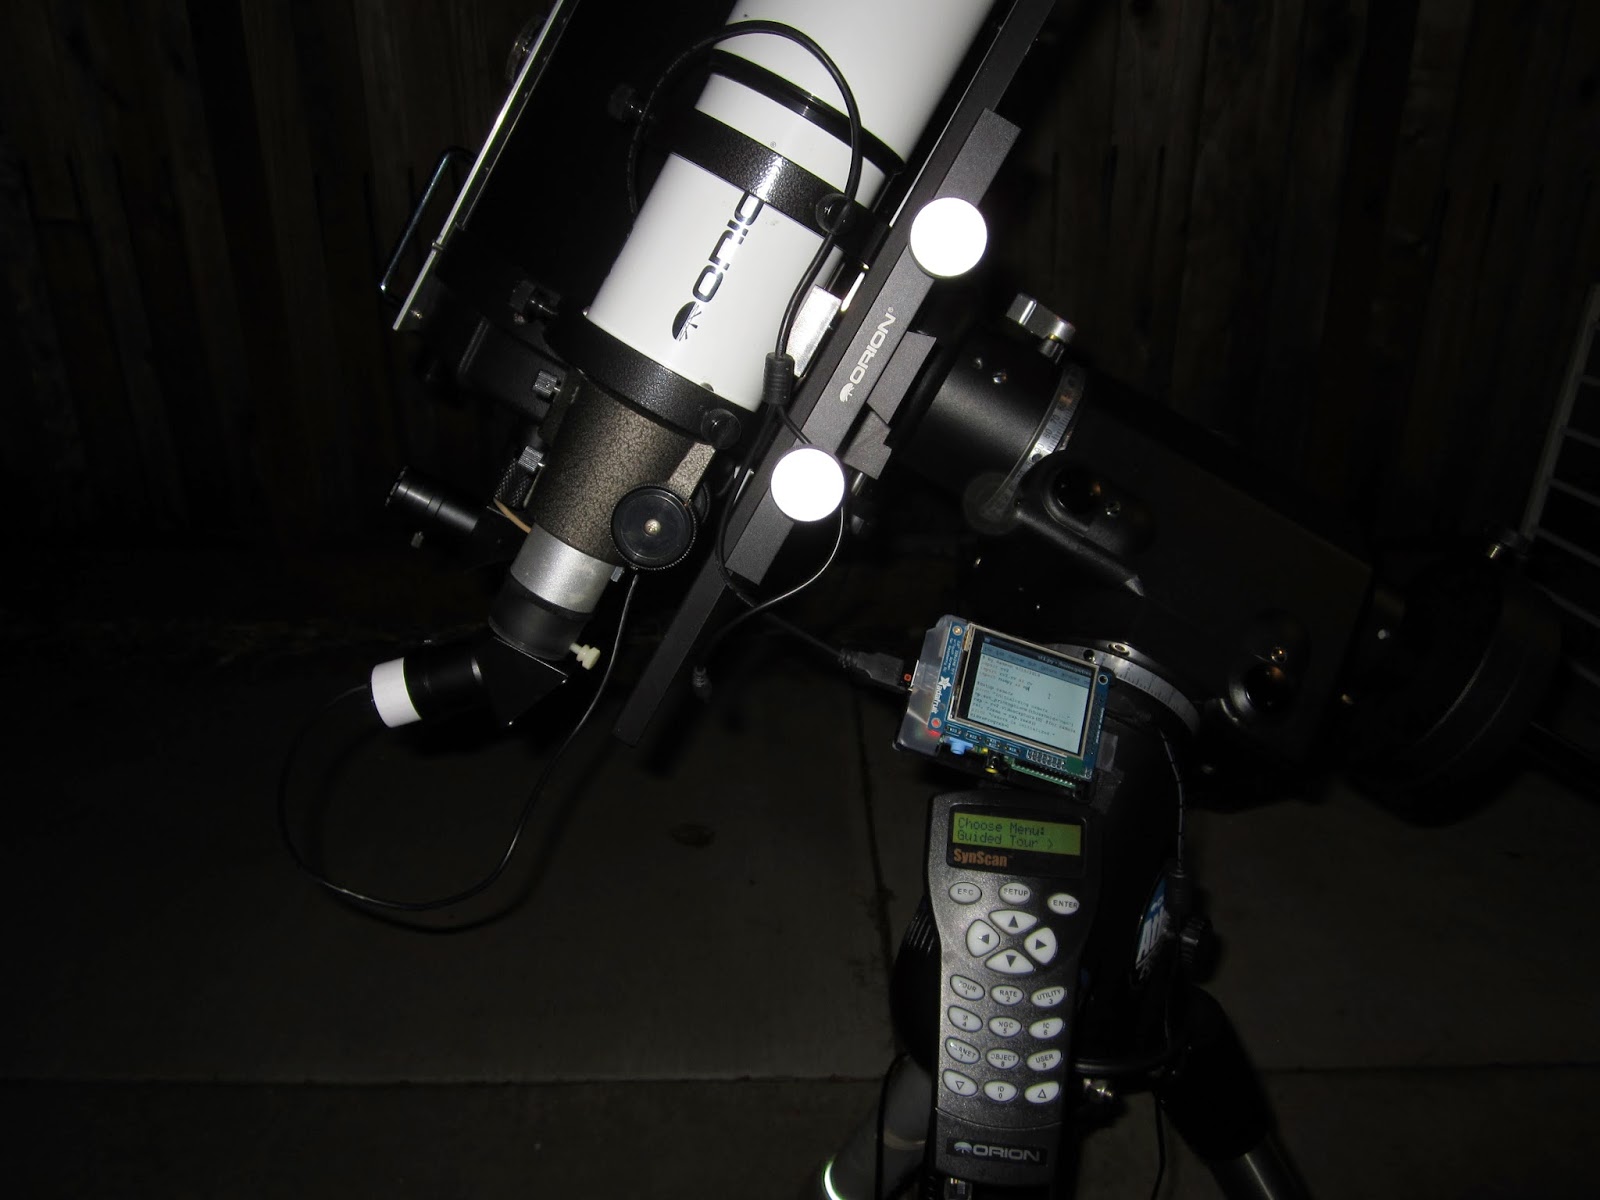
# Auto Guide with RPi
# by Samson Yang 5/30/2014
# Hardware requirement:
# Raspberry Pi Model B
# USB camera
# Wireless keyboard (optional)
# Adafruit PiTFT Mini Kit - 320x240 2.8" TFT (optional)
# Custom PCB
#
# Software:
# python 2.7, OpenCV V2.4.6 and numpy.
#
# Blogger:
https://www.blogger.com/blogger.g?blogID=634479844432177891#allposts
# Youtube:
https://www.youtube.com/watch?v=1k9vwmUJgbM
#
# Note:
# Author is just a beginner to Python. Please feel free to modify this program for your own project.
# Due to time constrain and limited programming skill, there will be no technical support for these code.
# Have fun and good luck. :)
#
#################################################################################
GP=1 #see below note
#GP=0 For PC only, GPIO will not be activated
#GP=1 For RPi only, GPIO will control telescope mount. EQG has been tested.
import cv2
import cv2.cv as cv
import numpy as np
from random import randrange
# For GPIO Control
# Dec-, green, GPIO#22
# Dec+, yellow, GPIO#4
# Ra-, blue, GPIO#17
# Ra+, red, GPIO#18
if GP==1:
from time import sleep
import RPi.GPIO as GPIO
GPIO.setmode(GPIO.BCM)
#Assign GPIO number
RP=18 #R+
RN=17 #R-
DP=4 #D+
DN=22 #D-
#Setip up for GPIO Pin
GPIO.setup(RP, GPIO.OUT)
GPIO.setup(RN, GPIO.OUT)
GPIO.setup(DP, GPIO.OUT)
GPIO.setup(DN, GPIO.OUT)
GPIO.output(RP, False)
GPIO.output(RN, False)
GPIO.output(DP, False)
GPIO.output(DN, False)
#setup camera
print "Initializing camera......."
np.set_printoptions(threshold='nan')
if GP==1: #work on RPi
cap = cv2.VideoCapture(0) #for camera 0 on RPi
if GP==0: #work on PC
cap = cv2.VideoCapture(1) #for camera 0 on RPi
ret, frame = cap.read()
print "Camera is initialized."
qq=1
while qq==1:
#while loop until find a good star
X1=0
NoIntegration=5
while X1==0:
maxStartBrightness=0
while True:
# for image integration
temptrackStar=0
countloop=0
for countloop in range (0,NoIntegration):
ret, frame = cap.read()
imggray = cv2.cvtColor(frame, cv2.COLOR_BGR2GRAY)
temptrackStar=temptrackStar+imggray
imggray=temptrackStar
maxBright = imggray.max()
ratio=255/maxBright #normalization ratio
imggray = imggray*ratio #normalized image
if maxStartBrightness<maxBright:
maxStartBrightness=maxBright
imggray_diaply=imggray.copy()
displaytext = "I: "+str(maxBright)+". Max I: "+str(maxStartBrightness)+" Integ: "+str(NoIntegration)
cv2.putText(imggray_diaply,displaytext, (5,25), cv2.FONT_HERSHEY_SIMPLEX, 1, 255,1)
cv2.putText(imggray_diaply,"Focus, then press space bar!", (5,60), cv2.FONT_HERSHEY_SIMPLEX, 1, 255,1)
#Reduce screen size
newx,newy = imggray_diaply.shape[1]/2,imggray_diaply.shape[0]/2
img3 = cv2.resize(imggray_diaply,(newx,newy))
cv2.imshow('Check image',img3)
key = cv.WaitKey(20)
if key == 32: #press space to move to next step
break
if key == 2490368: #press up for increase image brightness
NoIntegration=NoIntegration+1
if key == 2621440: #press down for decrease image brightness
NoIntegration=NoIntegration-1
if NoIntegration<=1:
NoIntegration=1
cv.DestroyAllWindows()
img=imggray.copy()
#Star location
trackX=np.dtype('float16')
trackY=np.dtype('float16')
trackX=0.
trackY=0.
img2=img.copy() #For display only
cv.WaitKey(20)
maxpix = img
bY, bX = img.shape
#Finding all star
uX = 1.0*(img.max(axis=0)) #sum o column
uY = 1.0*(img.max(axis=1)) #sum of row
nX = 0
nY = 0
X = np.zeros(10000)
Y = np.zeros(10000)
#Set star intensity threshold (self setting)
# criteria is >50% of max intensity
Threshold = uX.max()*0.5
Sub_Search_range=15
for c in range(0,bX-1):
if (uX[c] >=Threshold)*(uX[c+1]<=Threshold):
X[nX]=c
nX=nX+1
else:
uX[c]=0
for r in range(0,bY-1):
if (uY[r] >=Threshold)*(uY[r+1]<=Threshold):
Y[nY]=r
nY=nY+1
else:
uY[r]=0
uY[len(uY)-1]=0
uX[len(uX)-1]=0
# Search for star
starCount=0
X1=0
Y1=0
for c in range (0,nX):
for r in range(0,nY):
img2=img.copy()
ulX=X[c]-Sub_Search_range
ulY=Y[r]-Sub_Search_range
lrX=X[c]+Sub_Search_range
lrY=Y[r]+Sub_Search_range
#print ulX,lrX,ulY,lrY
if ulX<=0:
ulX=0
if ulY<=0:
ulY=0
if lrX>=bX-1:
lrX=bX-1
if lrY>=bY-1:
lrY=bY-1
temp = img[ulY:lrY,ulX:lrX].max()
if temp>=Threshold:
trackY = Y[r]
trackX = X[c]
starCount=starCount+1
cv2.rectangle(img2, (int(ulX),int(ulY)),(int(lrX),int(lrY)), 255, 1)
cv2.putText(img2,"Press any key for search next star.", (5,25), cv2.FONT_HERSHEY_SIMPLEX, 1, 255,1)
cv2.putText(img2,"Press 'p' to pick your star for guiding.", (5,60), cv2.FONT_HERSHEY_SIMPLEX, 1, 255,1)
#Reduce screen size
newx,newy = img2.shape[1]/2,img2.shape[0]/2
img3 = cv2.resize(img2,(newx,newy))
cv2.imshow("stars",img3)
#print "Press 'p' to choose your star:"
if X1==0:
print cv.WaitKey()
if cv.WaitKey()==112:
Y1=Y[r]
X1=X[c]
trackY=Y1
trackX=X1
cv2.destroyAllWindows()
#end of while loop
################################
cv2.destroyAllWindows()
trackBoxC=100 #tracking box size
trackBoxR=160 #tracking box size
refX=0.
refY=0.
averageX=0
averageY=0
averageCount=0
temptrackStar=0
checkS=0
blureFactor=2 # The most stable factor is 2
while True:
#Star image integration (make it brighter)
starInteg=0
temptrackStar=0
checkS=0
while checkS<127:
ret, frame = cap.read()
img2 = cv2.cvtColor(frame, cv2.COLOR_BGR2GRAY)
trackStar = img2[
trackY-int(trackBoxC/2):trackY+int(trackBoxC/2),
trackX-int(trackBoxR/2):trackX+int(trackBoxR/2)]
temptrackStar=temptrackStar+trackStar
starInteg=starInteg+1
checkS=temptrackStar.max()
trackStar=temptrackStar#/starInteg
#Blure and normalize star image
trackStar=cv2.GaussianBlur(trackStar,(0,0),blureFactor)
maxBright=trackStar.max()
ratio=255/maxBright #normalization ratio
trackStar = trackStar*ratio #normalized image
#Find X and Y star profile
c=trackStar.max(axis=0)
r=trackStar.max(axis=1)
peakP=c.max()*0.8 #caculate the 80% or higher average
count=0
peakY=0
for cc in range (0,len(c)):
if c[cc] > peakP:
peakY=peakY+cc
count = count+1
if count<>0:
peakY=1.0*peakY/count
else:
print "Error count = 0, #111"
count=0
peakX=0
for rr in range (0,len(r)):
if r[rr] > peakP:
peakX=peakX+rr
count = count+1
if count>0:
peakX=1.0*peakX/count
else:
print"Cannot find star!"
if refX==0:
refX=peakX
refY=peakY
#Finding average star position
averageX = averageX+peakX*1.00-refX
averageY = averageY+peakY*1.00-refY
averageCount=averageCount+1
if averageCount==5:
averageCount=0
if peakY>=trackBoxR:
peakY=trackBoxR
if peakX>=trackBoxC:
peakX=trackBoxC
if peakY<0:
peakY=0
if peakX<0:
peakX=0
offsetX = -1*(peakY*1.00-refY)
offsetY = -1*(peakX*1.00-refX)
if GP==1:
#Star Guiding
if offsetY>1: #R+
GPIO.output(RP, True)
else:
GPIO.output(RP, False)
if offsetY<-1: #R-
GPIO.output(RN, True)
else:
GPIO.output(RN, False)
if offsetX>1: #D+
GPIO.output(DP, True)
else:
GPIO.output(DP, False)
if offsetX<-1: #D-
GPIO.output(DN, True)
else:
GPIO.output(DN, False)
#Display cross, box, and single star image
iBox=10 #inner box size
cv2.line(trackStar,(0,trackBoxC/2) , (trackBoxR/2-iBox,trackBoxC/2), 80,1)
cv2.line(trackStar,(trackBoxR/2+iBox,trackBoxC/2) , (trackBoxR,trackBoxC/2), 80,1)
cv2.line(trackStar,(trackBoxR/2,0) , (trackBoxR/2,trackBoxC/2-iBox), 80,1)
cv2.line(trackStar,(trackBoxR/2,trackBoxC/2+iBox) , (trackBoxR/2,trackBoxC), 80,1)
cv2.rectangle(trackStar, (trackBoxR/2-iBox,trackBoxC/2-iBox),(trackBoxR/2+iBox,trackBoxC/2+iBox), 125, 1)
displaytext = "Offset:("+str(offsetX)+","+str(offsetY)+")"
cv2.putText(trackStar,displaytext, (2,10), cv2.FONT_HERSHEY_SIMPLEX, 0.3, 125,1)
displaytext = "Integ: "+str(starInteg)+"."
cv2.putText(trackStar,displaytext, (2,90), cv2.FONT_HERSHEY_SIMPLEX, 0.3, 125,1)
#display . on screen randemly, so we know it is alive
if randrange(10)>5:
cv2.putText(trackStar,".", (125,10), cv2.FONT_HERSHEY_SIMPLEX, 0.3, 60,1)
#Reduce screen size
img3 = cv2.resize(trackStar,(trackBoxR*2,trackBoxC*2))
cv2.imshow("Lock on star",img3)
key=cv.WaitKey(20)
if key==114: #press r to redo image
cv2.destroyAllWindows()
break
if key==27: #pressw q to quit
qq=0
cv2.destroyAllWindows()
break
if GP==1:
#Turn off all GPIO ports
GPIO.output(4, False)
GPIO.output(17, False)
GPIO.output(18, False)
GPIO.output(22, False)
cv2.destroyAllWindows()


.JPG)